Difference between revisions of "UOAM location markers"
MyraMidnight (Talk | contribs) (Created page with " == Walkthrough == Video walkthrough: http://www.youtube.com/watch?v=RuPZcgqh9_U == Creating new markers == Right click on the area you want to have marked and left click "'...") |
MyraMidnight (Talk | contribs) (→See also) |
||
| Line 25: | Line 25: | ||
== See also == | == See also == | ||
| − | * [[ | + | * [[UOAM Setup]] |
* [[UOAM]] | * [[UOAM]] | ||
[[Category:UOAM]] | [[Category:UOAM]] | ||
Revision as of 09:28, 16 August 2018
Walkthrough
Video walkthrough: http://www.youtube.com/watch?v=RuPZcgqh9_U
Creating new markers
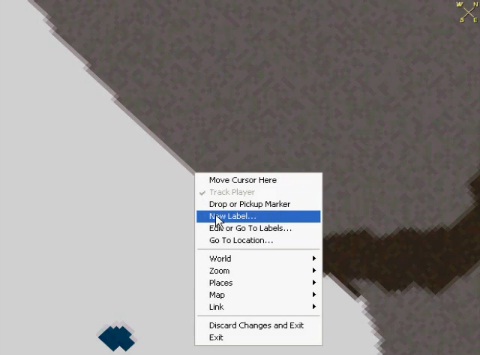
Right click on the area you want to have marked and left click "New label...".
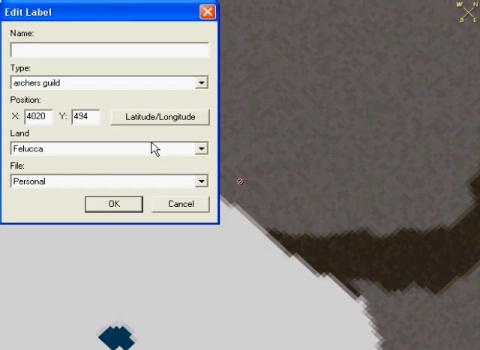
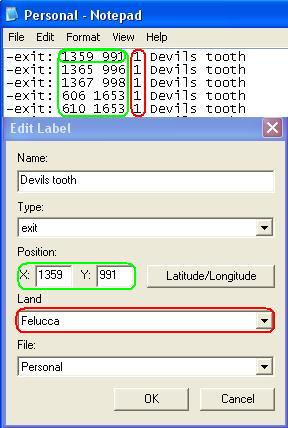
You will be presented with a box of attributes of the new label you are about to make: name (can be descriptive), type (the marker will have a small icon, the smallest icons you can use are credit, exit, etc, though credit is viewable even when you zoom out) XY coordinates, and other advanced options (land, file).
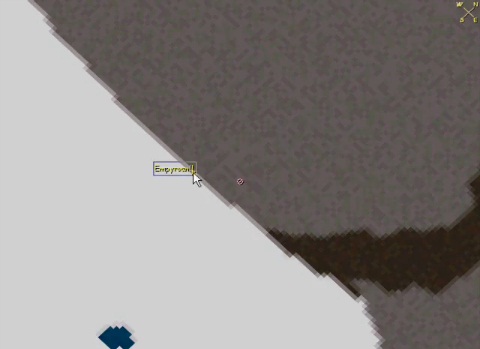
Once you have created the label, it will stay on your UOAM permanently (as long as you exit the program properly). You can use the markers to store the locations of veins, special trees, hunting spots, etc.
The information is stored in one of the *.map files (e.g. in the screen captures above, the information will have been placed on the Personal.map).


